Advertisement
 Sponsored
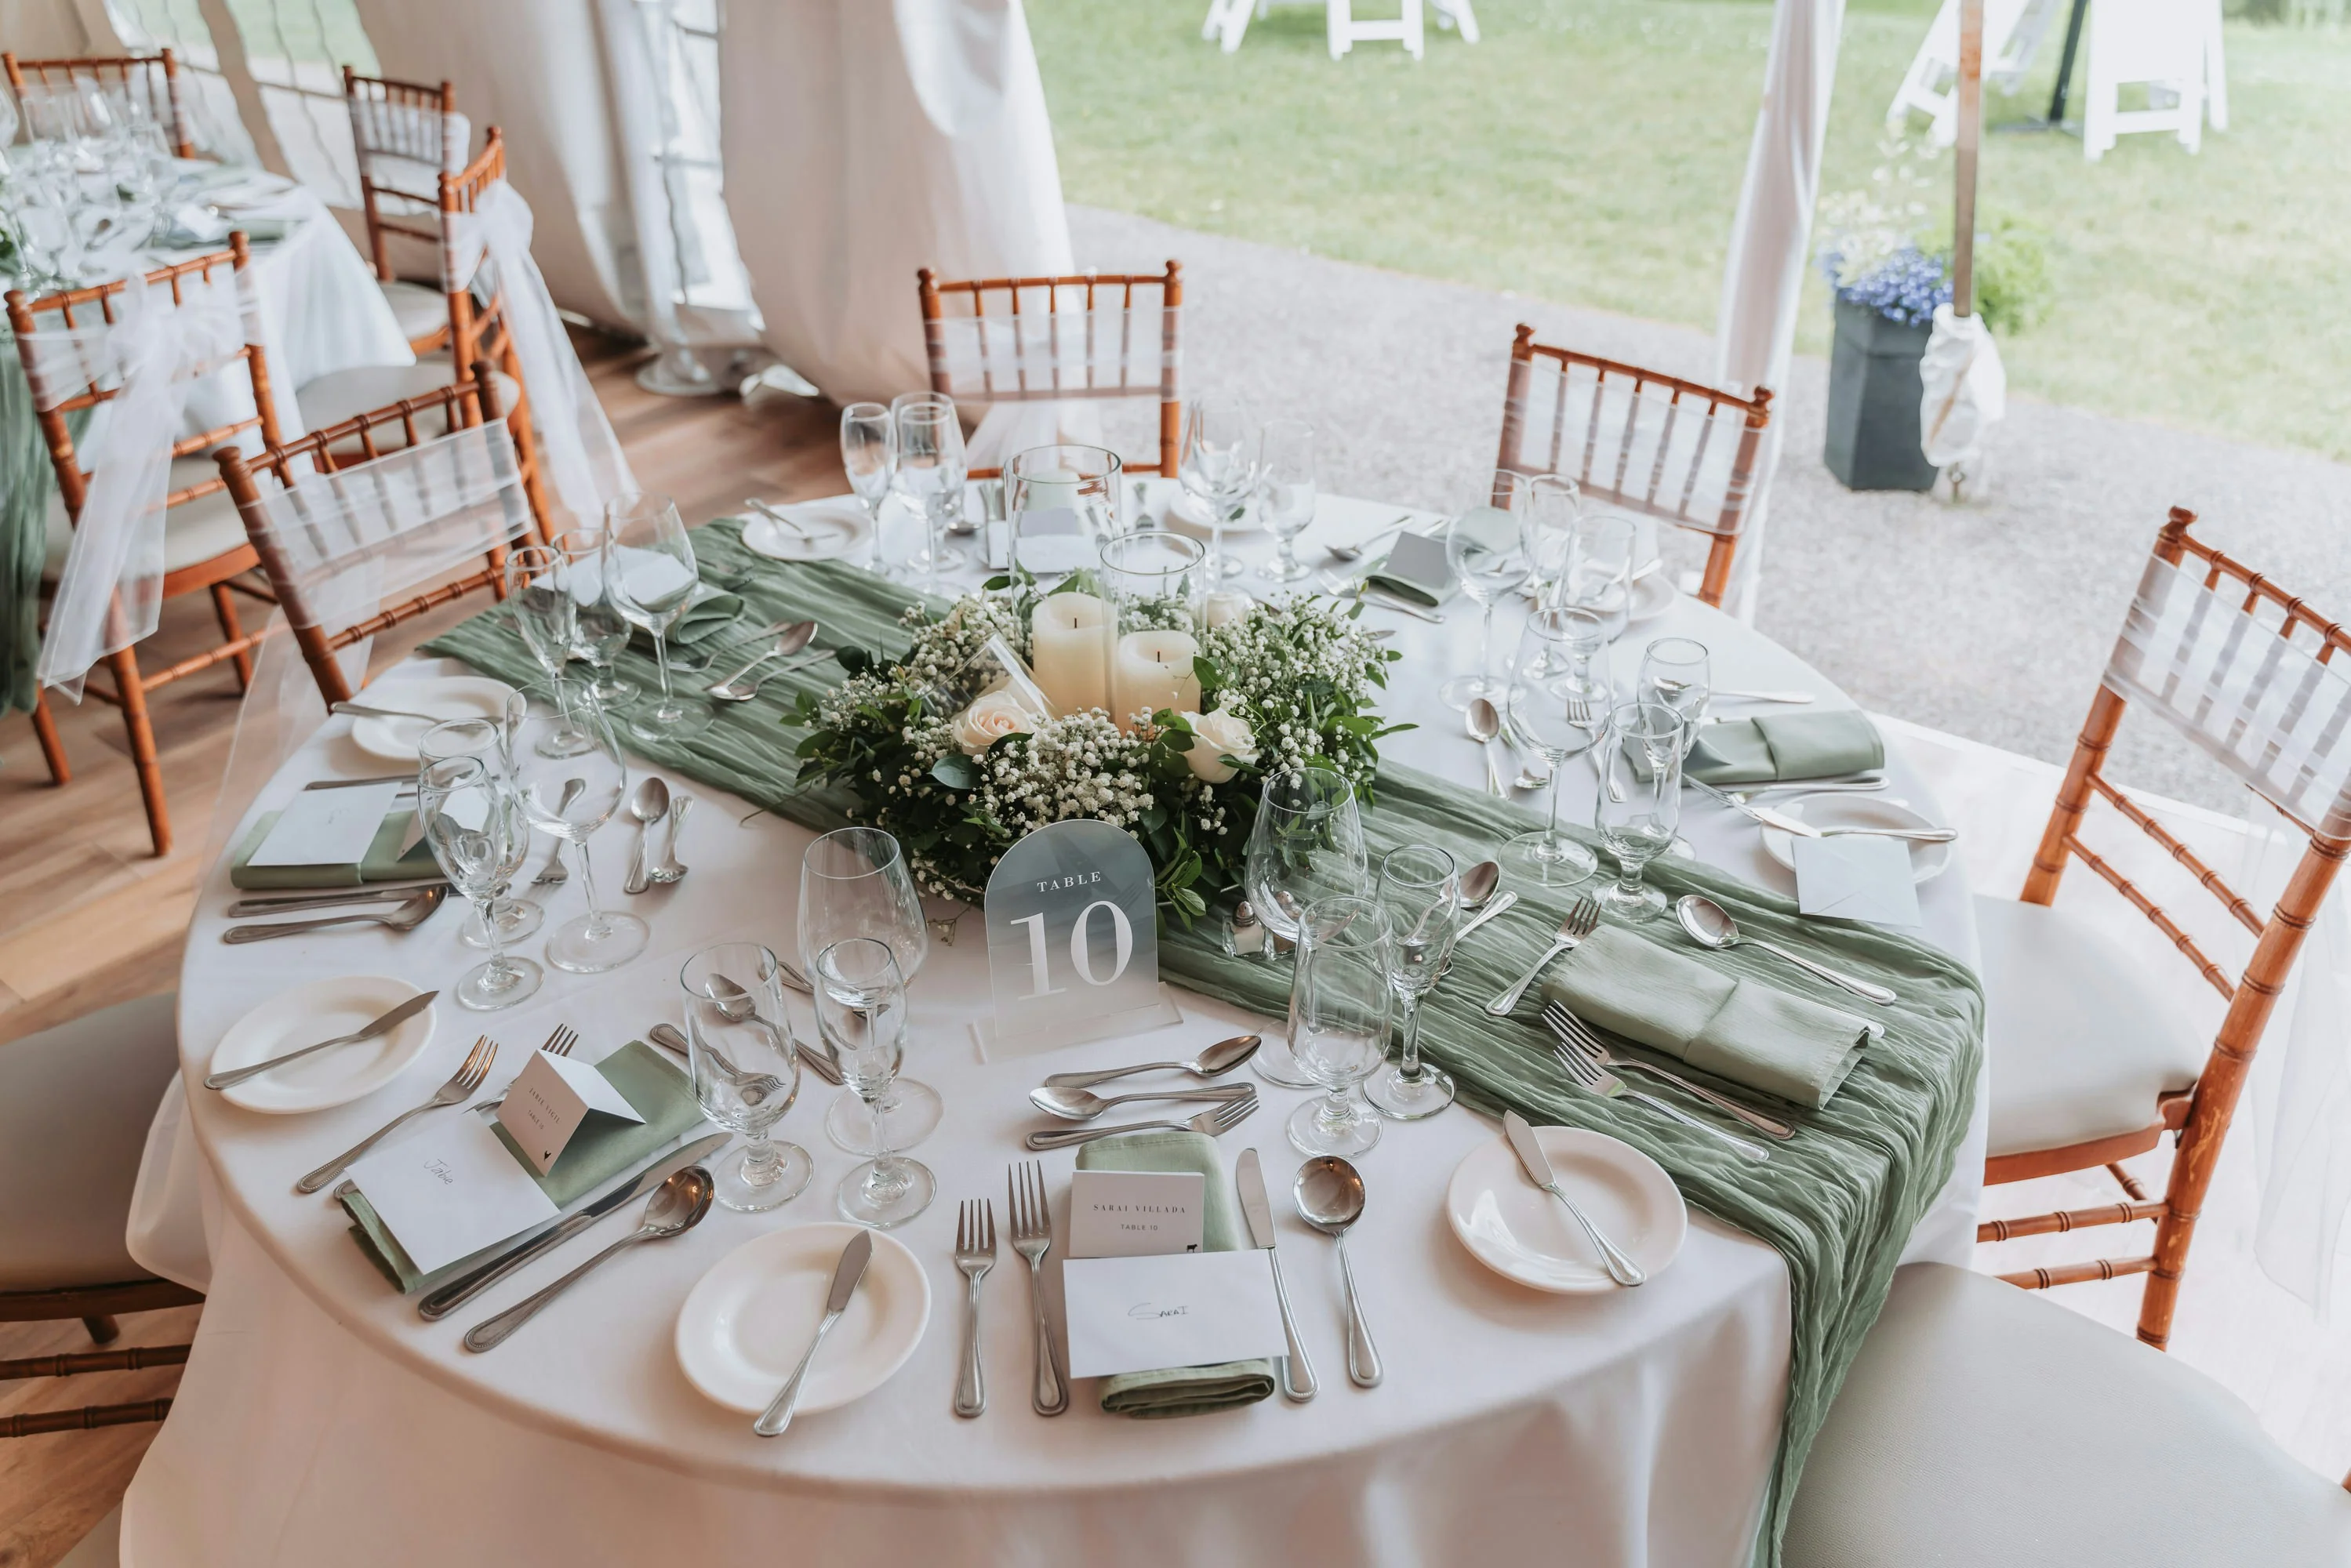
Few aspects of wedding planning trigger as much debate — and as many family group-chat meltdowns — as the wedding seating chart. Who sits next to whom? Where does the estranged uncle go? Can the university friends and the work colleagues share a table? A step-by-step wedding seating workflow transforms this notoriously stressful task into a manageable, even enjoyable process. Instead of staring at a blank floor plan the week before your wedding, you'll move methodically from guest list to final layout with confidence, clarity, and far fewer last-minute changes. This guide gives you the complete workflow, practical tips, and real-world strategies to get your seating chart right.
Table of Contents
Why You Need a Seating Workflow, Not Just a Seating Chart
Most couples approach seating as a one-time task: sit down, assign names to tables, print the chart, done. But this approach almost always leads to last-minute chaos. RSVPs trickle in late, guest counts shift, plus-ones are confirmed or cancelled, and suddenly your carefully arranged tables are full of gaps and conflicts.
A seating workflow is different. It's a structured, multi-step process that you begin weeks before the wedding and refine iteratively as information becomes clearer. Instead of making all decisions in one stressful session, you spread the work across manageable stages — each one building on the last.
The benefits are significant:
- Fewer last-minute changes. Because you've built flexibility into the process, late RSVPs and cancellations are adjustments, not emergencies.
- Better guest experience. Thoughtful seating means guests are placed with people they'll enjoy, leading to better conversations, fewer awkward silences, and a livelier celebration.
- Reduced couple stress. When you have a clear workflow to follow, the seating chart stops being a source of anxiety and becomes just another item on your checklist.
- Stronger collaboration. A workflow that includes sharing and validation steps means your partner, parents, and wedding planner all have input at the right time — not in a last-minute scramble.
Pro tip: Start your seating workflow no later than three weeks before the wedding. This gives you enough time for two to three revision rounds without feeling rushed.
Step 1: Finalise Your Confirmed Guest List
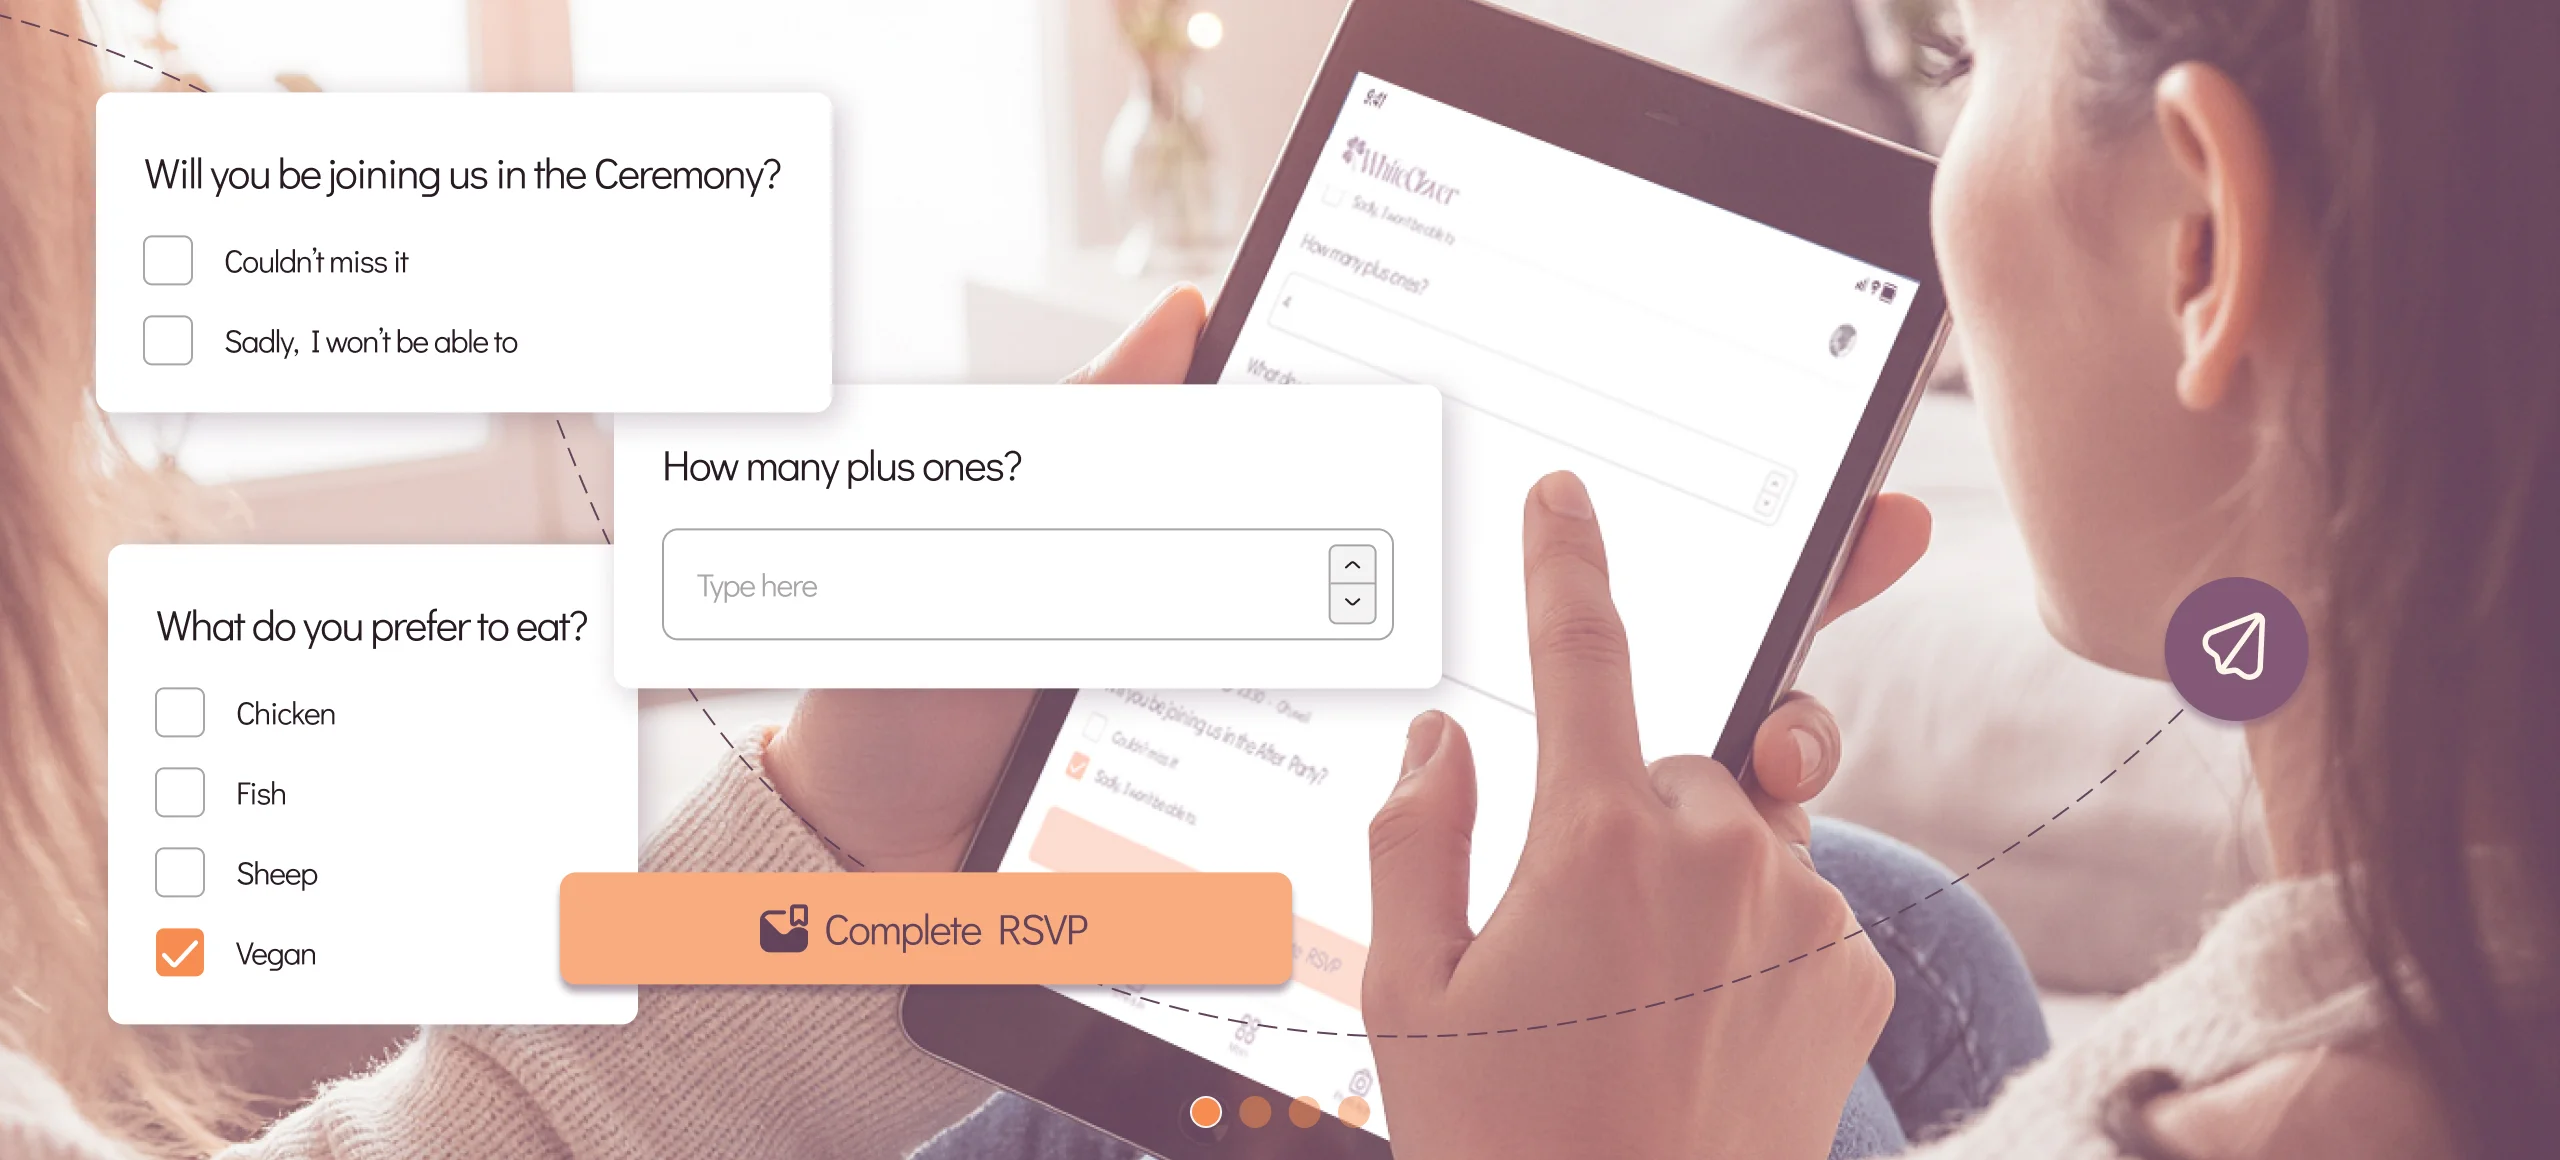
You can't seat guests who haven't confirmed. The first step in your seating workflow is to close your RSVP period and establish a definitive list of confirmed attendees.
Set a firm RSVP deadline. Communicate this clearly on your wedding website and in your invitations. A deadline 3–4 weeks before the wedding gives you enough time for seating planning while still being reasonable for guests.
Follow up with non-responders. After the deadline passes, reach out to guests who haven't replied. A friendly message — "We'd love to know if you'll be joining us so we can finalise arrangements" — is usually enough. Give them 48–72 hours to respond before making assumptions.
Account for plus-ones and children. Ensure your confirmed list includes every individual attending, not just the primary invitee. If a guest RSVPed for themselves and a plus-one, both names should appear on your list with any relevant details (dietary needs, accessibility requirements).
Create a "confirmed" and "tentative" list. Some guests will be definite yeses. Others will be maybes or late responders. Track both lists separately so you can plan your seating around confirmed guests first and accommodate tentative ones as they confirm.
Pro tip: Export your confirmed guest list from your RSVP tool into a format you can easily work with — a spreadsheet or a dedicated seating planner. Having all names, dietary requirements, and relationship notes in one place saves enormous time in the next steps.
Step 2: Group Guests by Relationship and Preference
With your confirmed list in hand, the next step is to organise guests into logical groups. This is where your knowledge of your guests' relationships, personalities, and preferences becomes invaluable.
Start with natural groupings:
- Immediate family. Parents, siblings, grandparents — these are typically seated closest to the couple.
- Extended family. Aunts, uncles, cousins. Consider which branches of the family get along well and which might need strategic separation.
- Close friends. Your inner circle. These guests usually form a table naturally.
- University/school friends. Shared history makes these groups easy to seat together.
- Work colleagues. If you've invited colleagues, group them together so they have familiar faces to chat with.
- Partner's family and friends. Mirror the same grouping logic for your partner's side.
- "Floaters." Guests who don't belong to an obvious group — distant relatives, family friends, or solo attendees. These require more thought.
Consider dynamics within groups. Not all family members get along. Not all friend groups are still close. Think about potential tensions and avoid seating arrangements that could create discomfort. A wedding is not the place to test whether your divorced parents can share a table peacefully.
Note conversation compatibility. The best tables aren't just conflict-free — they're energising. Think about which guests will genuinely enjoy each other's company. Shared interests, similar life stages, or complementary personalities make for lively, memorable table conversations.
Step 3: Build Your First Table Draft
Now comes the creative part: assigning groups to tables. This is a draft, not a final version — give yourself permission to rearrange as needed.
Get your venue's floor plan. Know how many tables you have, how many seats per table, and where key features are: the head table, the dance floor, the bar, the entrance, and any columns or obstacles. Table placement affects the energy and flow of the entire room.
Place priority tables first. Start with the head table (if you're having one) and immediate family tables. These are your anchor points around which everything else is arranged.
Fill tables based on your groupings. Assign each guest group to a table, aiming for full tables where possible. Half-empty tables feel awkward for guests and waste space in the venue.
Use a digital tool for flexibility. Drag-and-drop seating planners make it infinitely easier to experiment with arrangements than sticky notes on a poster board. See how the wedding seating chart feature lets you visualise your layout and share updates with your planning team. You can move guests between tables, resize groups, and see the overall layout at a glance.
Leave buffer seats. If you have tentative guests or expect a few last-minute additions, leave one or two empty seats at flexible tables. This prevents a full replan when a late confirmation arrives.
Pro tip: Don't agonise over perfection in the first draft. The goal is to get everyone assigned to a table so you can see the big picture. Refinement happens in the next steps.
Step 4: Review Special Requirements and Sensitivities
With your first draft complete, it's time to review it through a more detailed lens.
Dietary and allergy requirements. Check that guests with specific dietary needs (vegetarian, vegan, gluten-free, nut allergies) are noted on your seating plan. Share this information with your caterer so they know which meals go to which tables.
Accessibility needs. Ensure guests with mobility challenges, wheelchair users, or those who need to be close to exits are seated appropriately. Consider proximity to restrooms, level access, and distance from loud speakers.
Family sensitivities. Divorced parents, feuding siblings, or guests with complicated histories need thoughtful placement. You don't need to solve decades of family drama — just avoid seating arrangements that create obvious tension.
Children's tables. Decide whether children sit with their parents or at a dedicated kids' table. For very young children, seating with parents is usually best. Older children might enjoy a kids' table, especially if you provide activities or entertainment.
Solo guests. Pay special attention to guests attending alone. Seat them with friendly, outgoing people who will make them feel included. A solo guest at a table of couples who all know each other can feel isolating.
The "golden rule" of seating reviews: Walk through the seating chart from each guest's perspective. Ask yourself, "Would I be comfortable and happy at this table?" If the answer is no for any guest, make adjustments.
Step 5: Share, Validate, and Collaborate
Seating decisions shouldn't happen in a vacuum. Your partner, parents, and wedding planner all bring perspectives you might miss.
Share the draft with your partner. You each know your own guests best. Review the chart together, table by table, and discuss any concerns or suggestions. This is a collaborative decision, and both of you should feel comfortable with the final arrangement.
Get input from parents (selectively). Parents often have invaluable insight into family dynamics — who gets along, who doesn't, who will feel honoured by proximity to the couple and who won't mind being further away. Share the draft with a specific request: "Can you review the family tables and let us know if anything feels off?"
Consult your wedding planner or venue coordinator. They've seen hundreds of seating arrangements and can flag practical issues you might not consider: tables too close to the kitchen door, sight-line problems with columns, or flow issues near the dance floor.
Use a shared digital tool. Emailing spreadsheets back and forth creates version-control nightmares. Use a collaborative seating tool where everyone can view the latest version and leave comments without creating conflicting copies.
Pro tip: Set a clear deadline for feedback. "Please review by Thursday evening so we can finalise on Friday" prevents well-meaning parents from endlessly suggesting changes right up to the wedding day.
Step 6: Lock the Final Version
The final step is committing to your seating chart and communicating it to everyone who needs it.
Set a lock date. Decide on a date — ideally 5–7 days before the wedding — after which no more changes will be made. This gives your caterer, venue, and print provider enough time to prepare.
Prepare for the inevitable exceptions. Even after locking, one or two last-minute changes may be necessary (a guest cancels due to illness, a surprise plus-one appears). Build in a small buffer — one or two flexible seats — so these changes are adjustments, not emergencies.
Share with your vendors. Send the final seating chart to your caterer (for meal assignments), your venue coordinator (for table setup), and your wedding planner (for day-of logistics). A clear, well-formatted document prevents miscommunication.
Print or display your chart. Whether you choose a classic printed seating board, individual place cards, or a digital display at the entrance, ensure guests can quickly and easily find their table assignment. Include table numbers or names prominently.
Take a breath. The seating chart is done. You've followed a structured workflow, considered every guest thoughtfully, and arrived at an arrangement that balances relationships, logistics, and personal comfort. Now it's time to focus on enjoying your wedding day — knowing that when your guests find their seats, they'll feel exactly where they belong.
Your love story deserves a celebration where every detail is taken care of — including where every guest sits. WhiteClover provides integrated guest list management, RSVP tracking, and collaborative seating tools that make your table planning workflow smooth, shared, and stress-free. Your wedding, your way.
Start your free WhiteClover account →
Frequently Asked Questions
When should I start planning my wedding seating chart?
Begin your seating workflow approximately three weeks before the wedding, once the majority of RSVPs are in. Starting too early means you'll be rearranging constantly as responses come in, but starting too late creates unnecessary pressure. Three weeks gives you time for two to three thoughtful revision rounds.
How do I handle guests who RSVP late?
Keep a few buffer seats at flexible tables specifically for late responders. When they confirm, slot them into the most appropriate available spot. If you've followed the workflow and have a few open seats, late RSVPs are adjustments rather than crises.
Should I use a head table or a sweetheart table?
A head table (seating the couple with the wedding party) works well for traditional celebrations where the bridal party is central to the event. A sweetheart table (just the couple) is ideal for more intimate or modern weddings where you want a moment for yourselves. Consider your wedding style, your relationship with your bridal party, and the overall room layout when deciding.
How do I seat guests who don't know anyone else?
Place solo guests at tables with warm, outgoing people who will make them feel welcome. Avoid tables where everyone already knows each other well, as this can unintentionally exclude the newcomer. If possible, introduce solo guests to their tablemates before the reception.
Can I let guests choose their own seats?
Open seating (no assigned tables) can work for very small, casual weddings where everyone knows each other. For most weddings, assigned tables with open seating within each table is the recommended approach. It gives you control over group dynamics while letting guests choose their specific chair.
Related Articles
Written by
Marios P.
Part of the WhiteClover team, helping couples and hosts plan unforgettable events with modern digital tools. Passionate about simplifying the celebration planning journey.
You Might Also Like
 Guest Experience
Wedding Seating Chart Designer & Table Management
Design perfect wedding seating charts with our visual drag-and-drop table designer. Practical tips for calmer planning. Practical tips for calmer planning.
 Guest Experience
How to Organise Wedding Guest Lists for Stress-Free Events
Learn how to organise wedding guest lists efficiently with a step-by-step guide focused on digital tools. Practical tips for calmer planning.
 Checklists
7 Steps for a Seamless Wedding Planning Checklist 2026
Discover the essential wedding planning checklist 2026 with 7 expert steps for engaged couples seeking effortless, eco-friendly event management in Greece.